Section 9.7: Creating New User Accounts
9.7.1: Using User Accounts

1. Click on the start button
2. Click on Control Panel
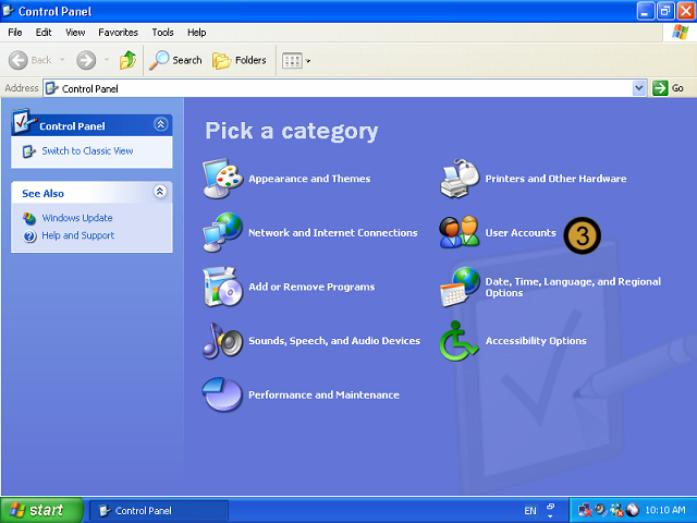
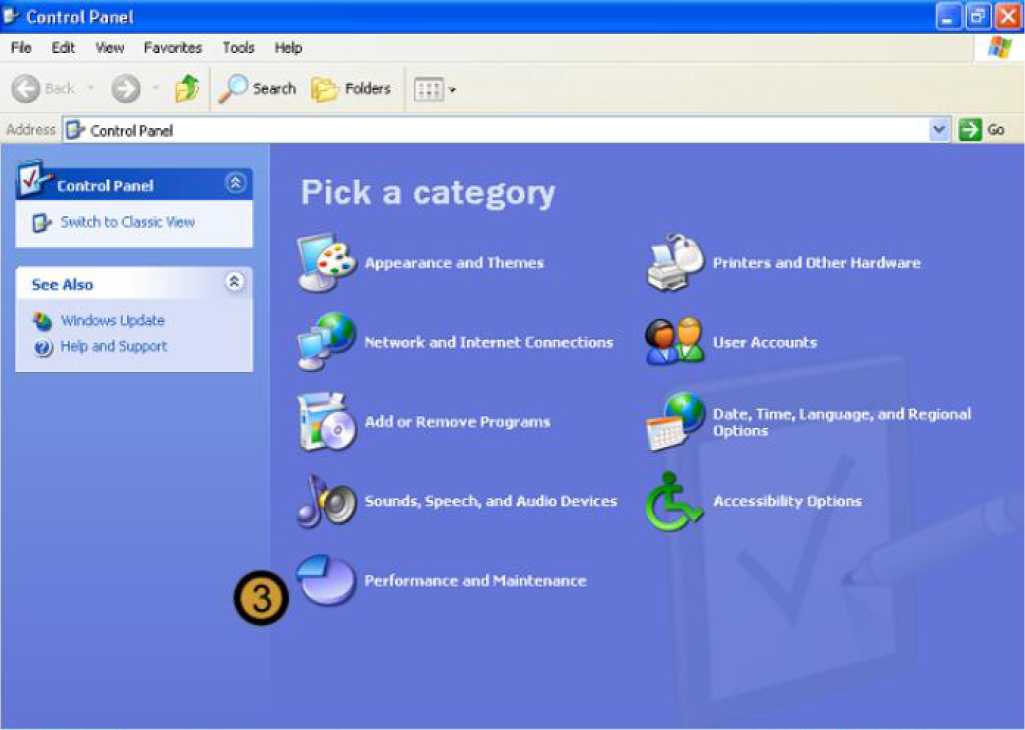
The Control Panel appears
3. In the Control Panel, click on the User Accounts icon
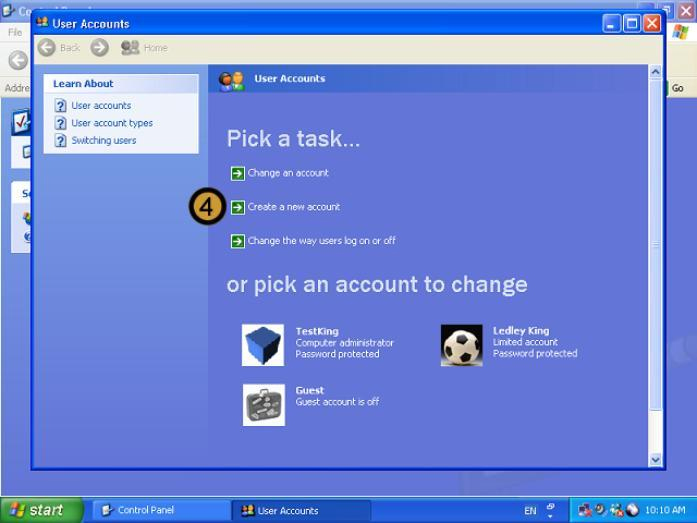
4. In USER ACCOUNTS, click CREATE A NEW USER ACCOUNT
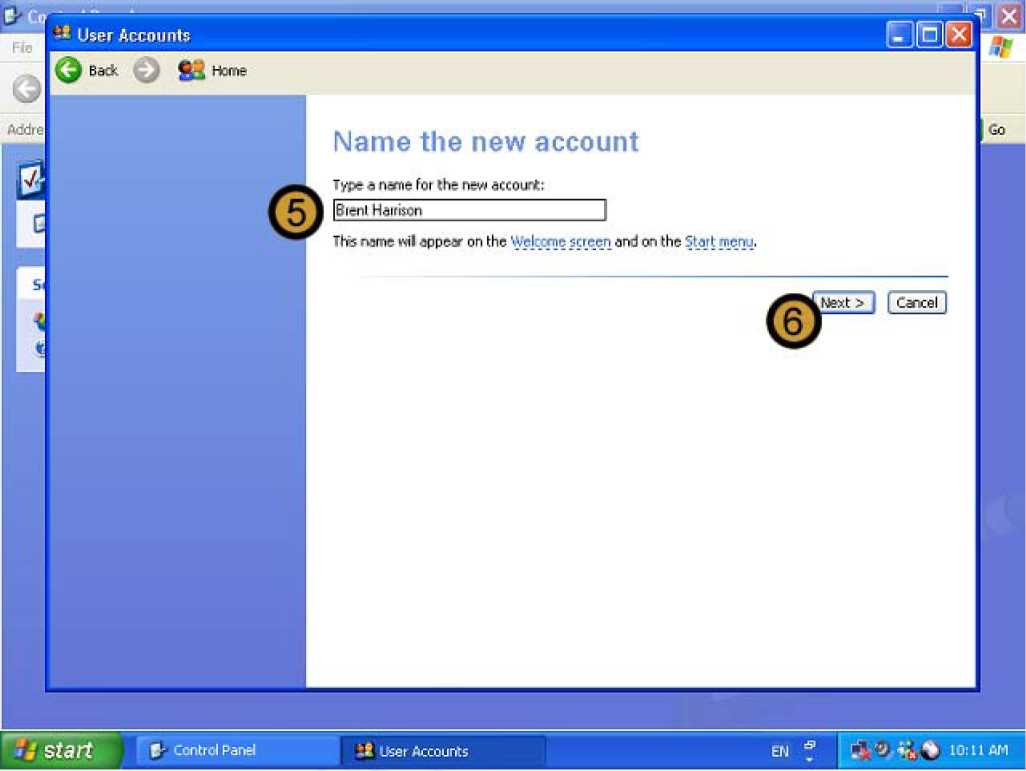
5. Provide the new account name
6. Click NEXT
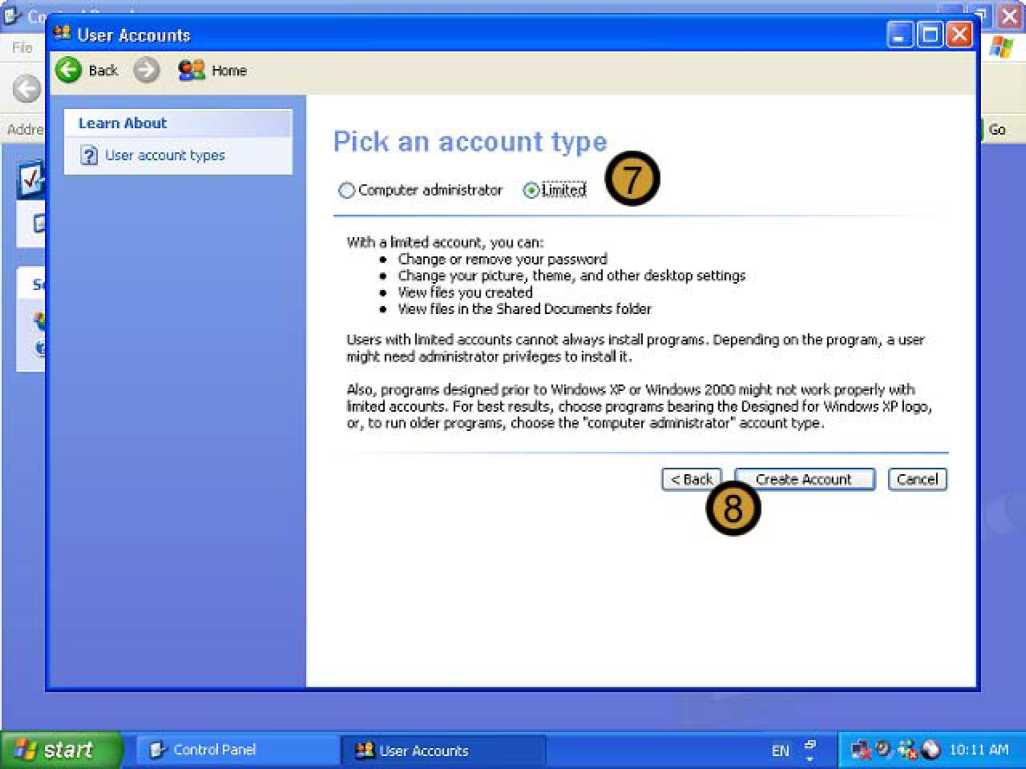
7. Choose the Account Type that you want to create. In this example we are not creating a Administrator Account
8. Click on the CREATE ACCOUNT button
Note: At this point the account is created without a password.
To set a temporary password for the account
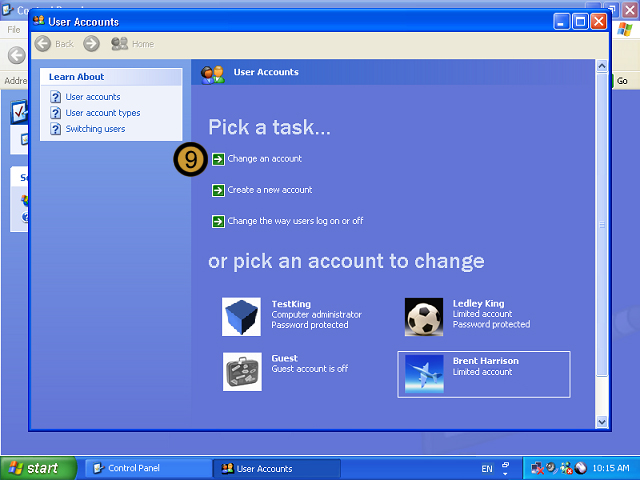
9. On the USER accounts dialog box, click CHANGE an account
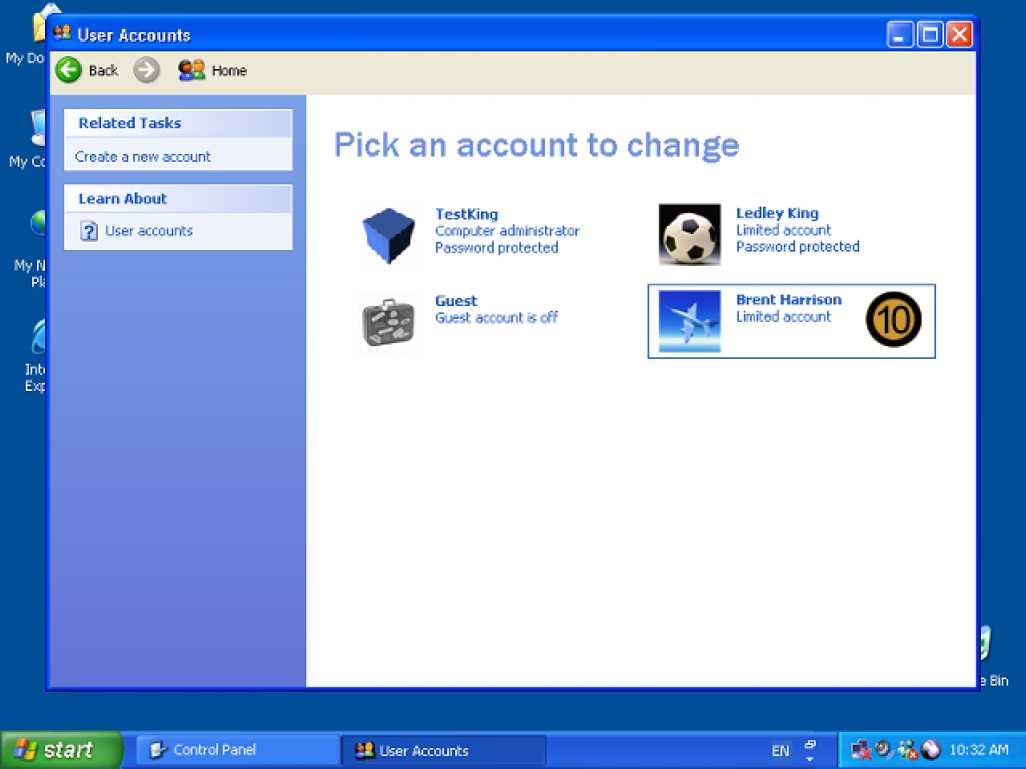
10. Double-click on the user account that you want to set a password for.

11. Click on CREATE A PASSWORD
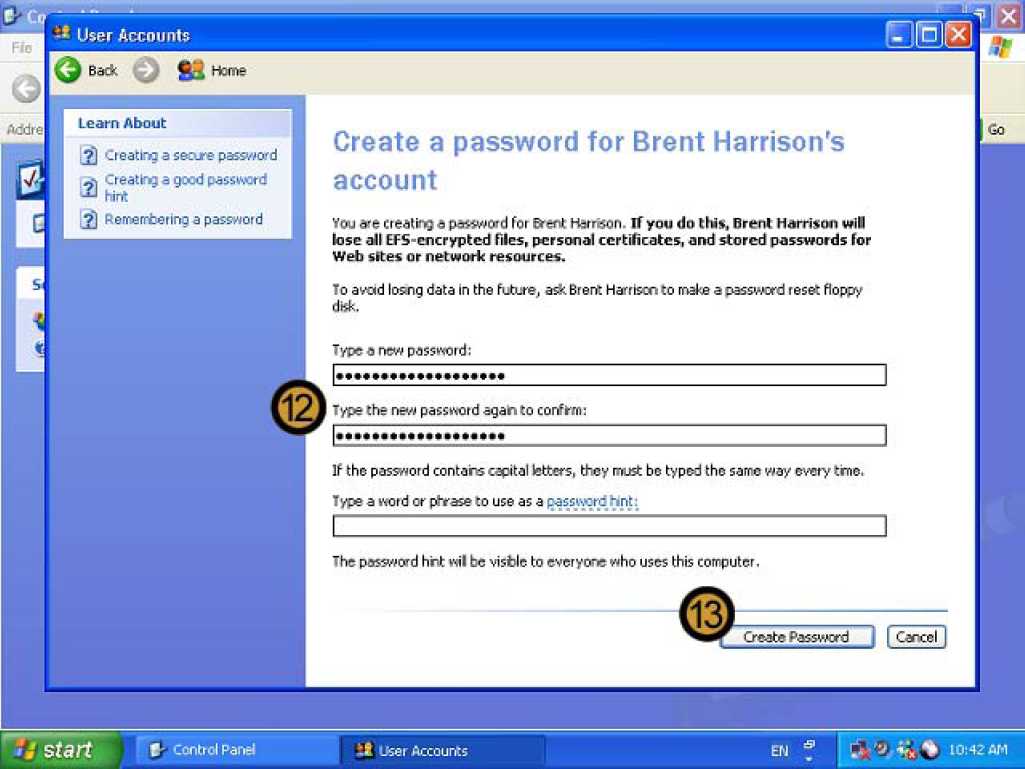
12. Provide and confirm the Password
13. Click CREATE PASSWORD

The new user account is now password protected
9.7.2: Using Computer Management
1. Click on the start button
2. Click on Control Panel
The Control Panel appears
3. In the CONTROL PANEL, click on the PERFORMANCE AND MAINTENANCE icon

The PERFORMANCE and maintenance dialog box appears
4. In the PERFORMANCE AND MAINTENANCE dialog box, click ADMINISTRATIVE TOOLS
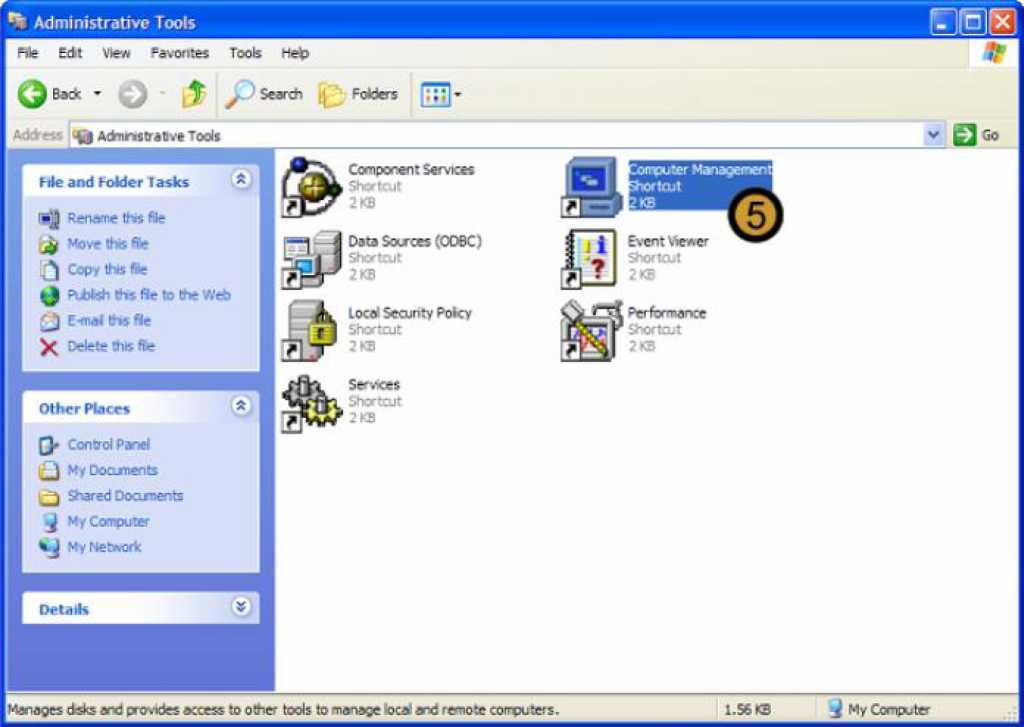
The Windows XP Professional administrative tools appears
5. In ADMINISTRATIVE TOOLS, double-click on the COMPUTER MANAGEMENT icon
The computer management console appears
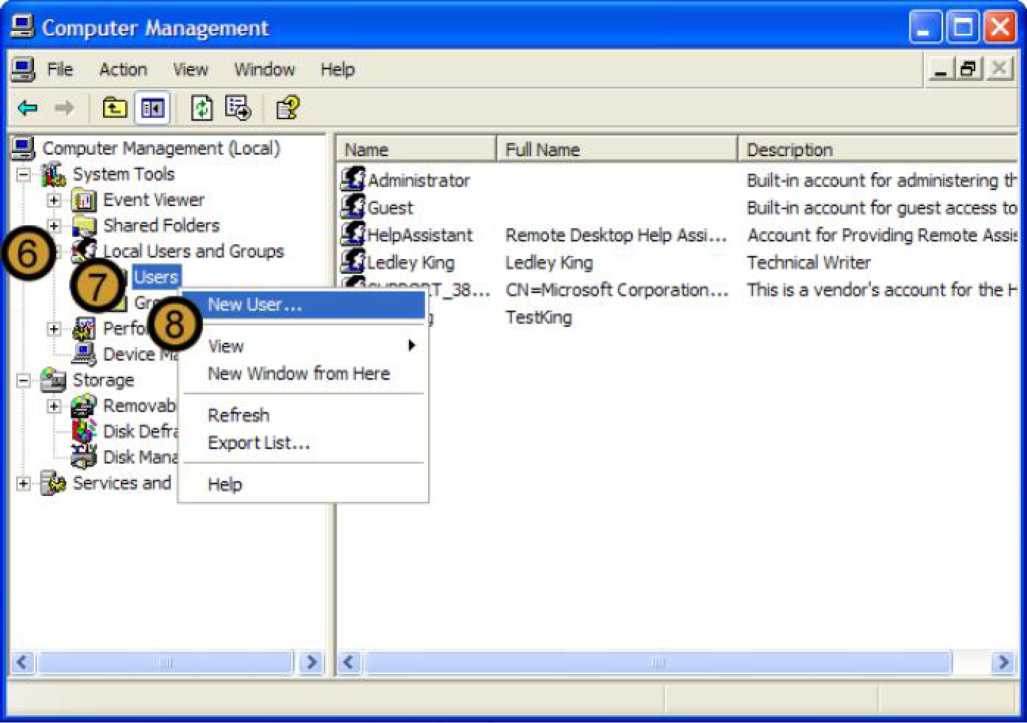
6. In the COMPUTER MANAGEMENT CONSOLE, expand LOCAL USERS AND GROUPS
7. Right click USERS
8. On the drop down menu that appears, click new user ...
9. In the CONTROL PANEL, click on the PERFORMANCE AND MAINTENANCE icon
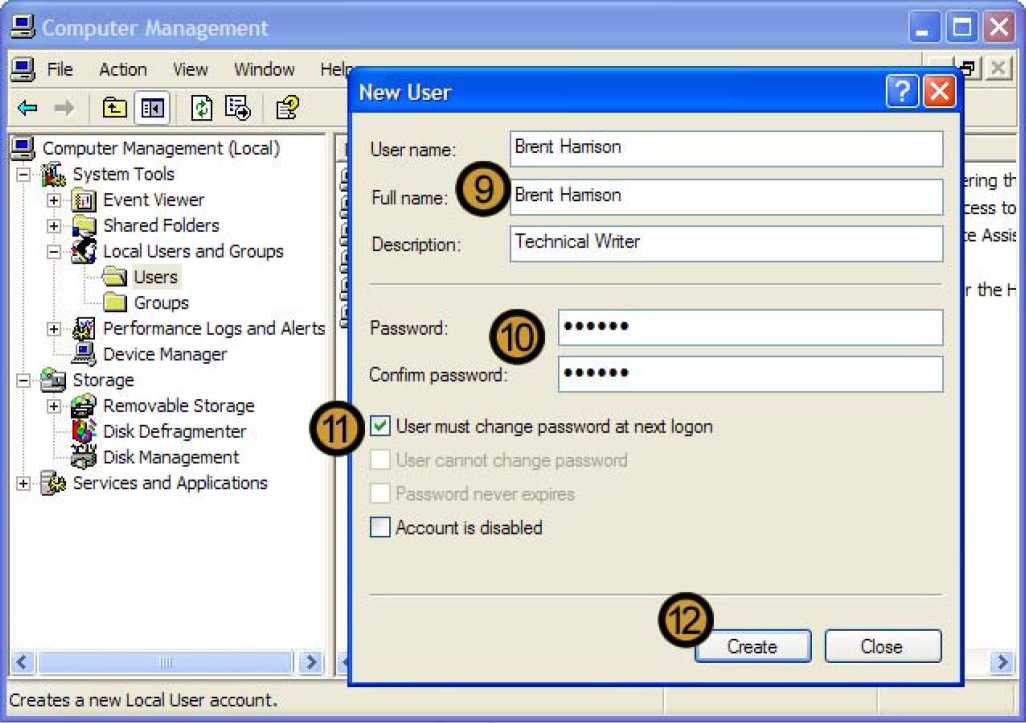
10. Provide and confirm a temporary password and, if you want, provide a description for the account
11. Select the user must change password at next logon check box
12. Click Create
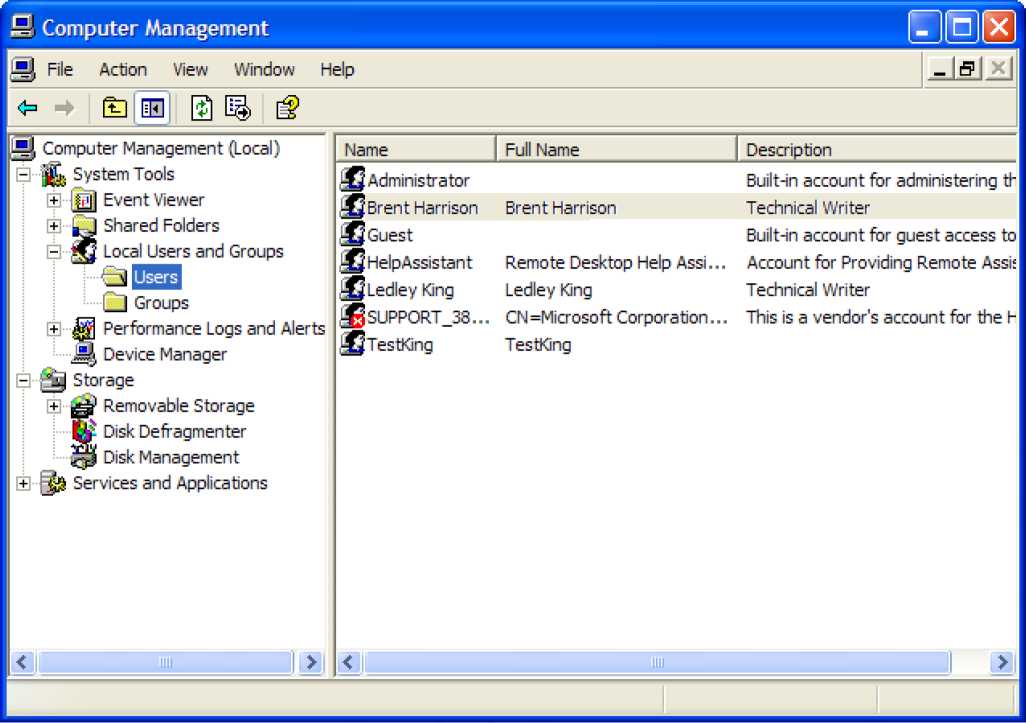
The new user account is created